
Projector
Projector presents the captions from your current live session as a clean 16:9 full-screen transcript. As new captions arrive, recent context stays visible and older text gently moves upward. Once the reading area fills, older captions leave through the top while new captions continue below.
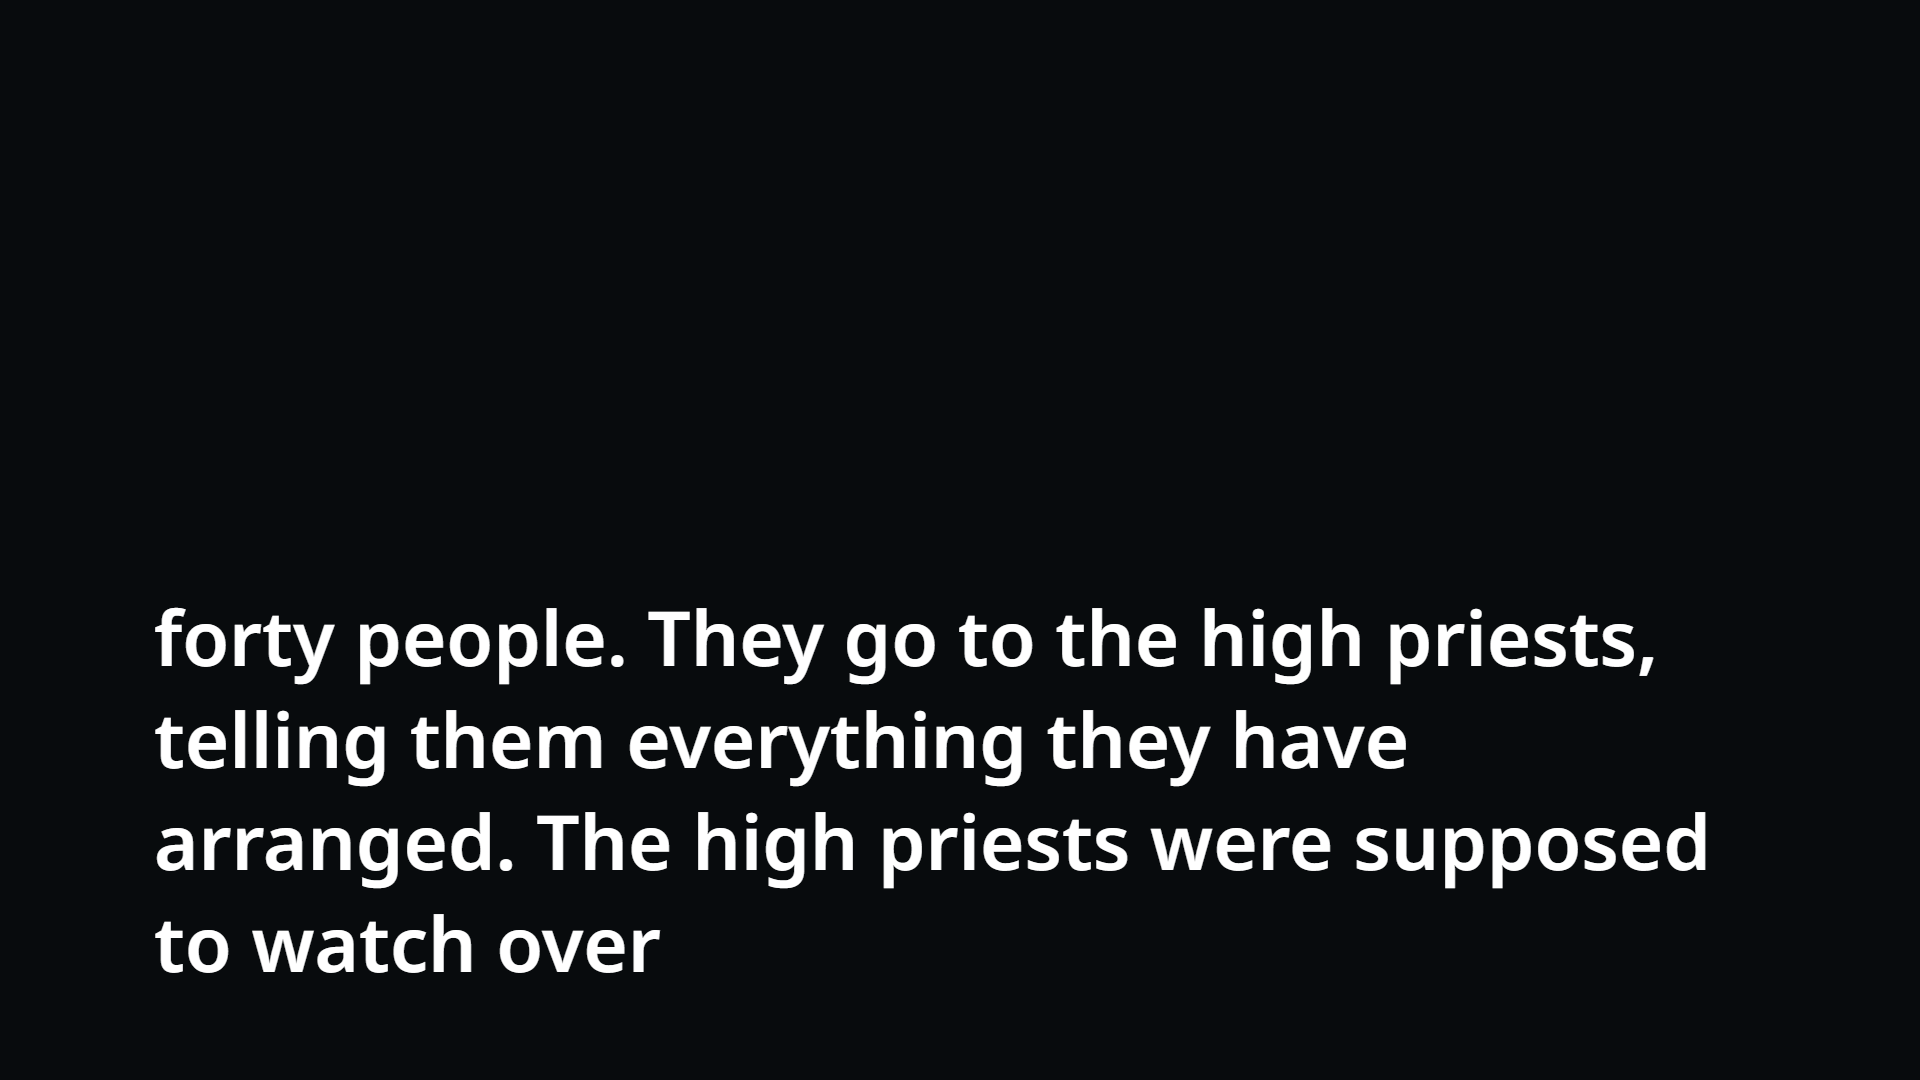
Set up Projector in Operator
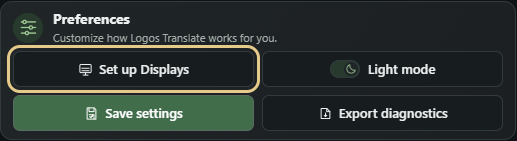
- Open PreferencesChoose Set up Displays in the existing Preferences position.
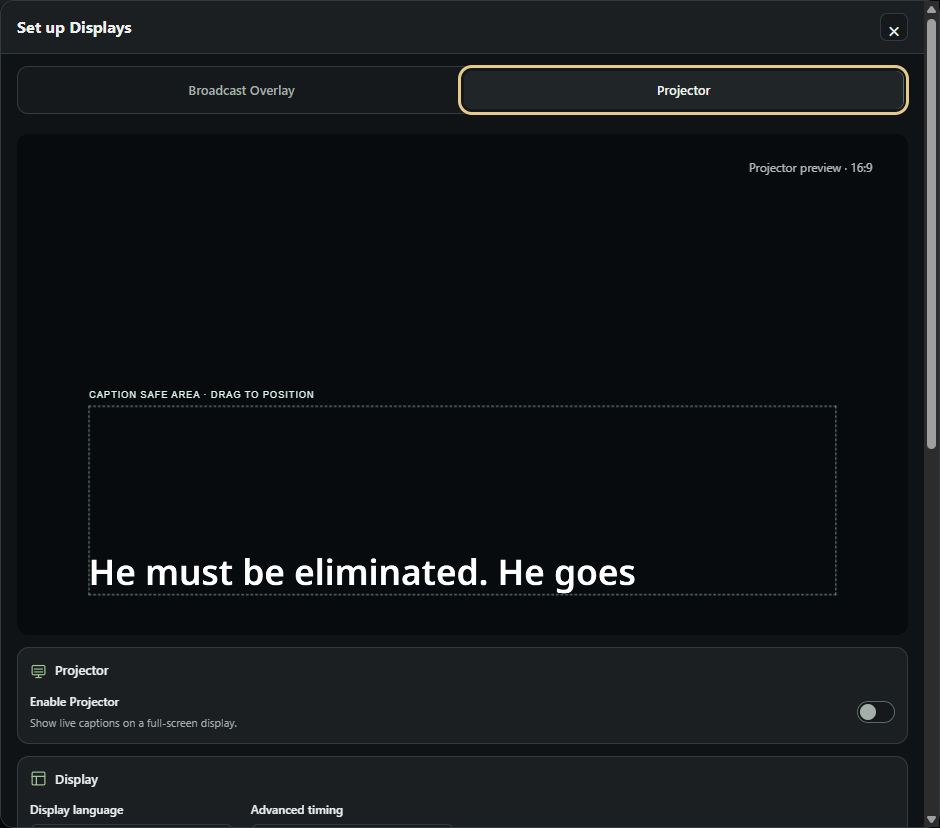
- Select ProjectorThe setup opens on Broadcast Overlay. Select the Projector tab, then turn on Enable Projector.
- Save the configurationChoose the language, timing and appearance below, then select Save settings.
Set up Projector in the Church Dashboard
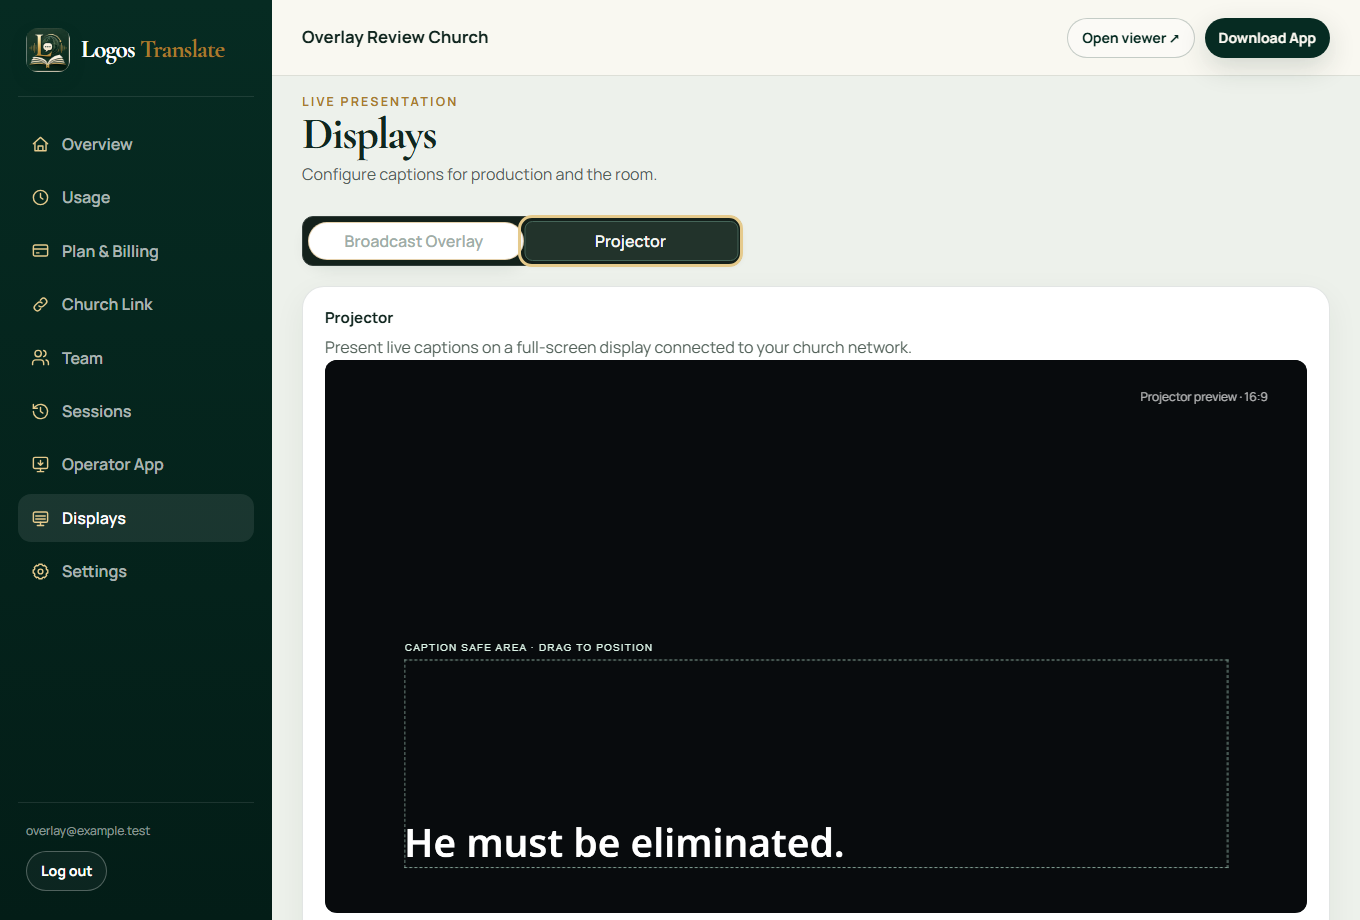
Open the Displays section, choose Projector, adjust the same presentation controls and save. The Dashboard preview uses deterministic sample captions, so you can review the look without starting a live service.
Choose the display language
Display language offers Speaker / Source plus each translation language selected for the current session. Projector and Broadcast Overlay can show different languages at the same time; neither creates another translation request. If a selected translation is removed, the display safely uses Speaker / Source.

Choose Advanced timing
Gradual shows a provisional caption as words become available. All at once shows a completed, stable caption segment together. Both keep the continuous transcript and its gentle upward movement. The choice affects only presentation.

Configure the reading area
Choose one to eight caption lines. The line count sets the approximate visible transcript capacity; it does not create separate cards. Adjust left and right margins and the bottom position to keep text inside the projector's safe area. The 16:9 preview shows each change immediately and supports dragging the caption area.

Choose typography and background
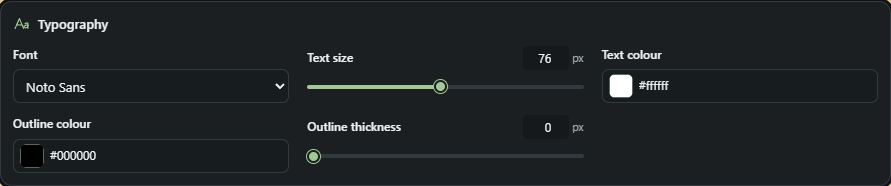
Select a bundled or system-safe font, text size, text colour, outline colour and thickness. Choose the full-screen background colour and opacity. A dark background with light text is a readable starting point; check it on the actual projector or TV.

Copy and open the Projector link
- On the Operator computerChoose Open Projector to inspect the live display locally. Projector demo shows controlled captions without a real translation session.
- On another computerChoose Copy projector link in Operator and open that current private-LAN URL in a browser on the computer connected to the projector or TV.
- Keep both computers connectedOperator must remain running. Both computers must be on the same local church network; the link uses the Operator computer's current LAN address and is not a public internet relay.

Use a physical projector or TV
- Open the linkOn the computer attached to the projector, open the Projector URL in a browser.
- Choose the screenIf the computer uses an extended desktop, move the browser window onto the projector display.
- Enter full-screen modeUse the browser's full-screen command and check that no browser controls cover the captions.
- Test before the serviceUse Projector demo for a visual check, then run a short live caption session with the actual microphone or mixer and verify language, timing, line count and legibility in the room.
Troubleshooting
Link does not open
Check Operator is running, both computers are on the same private LAN, the copied IP is current, and Windows Firewall permits Private-network access. Recopy the link after a network change.
Captions do not update
Confirm the live session is running, the selected language still exists, and the LAN connection is stable. Refresh the Projector page after a short interruption.
Wrong language
Open Displays → Projector → Display language. Choose Speaker / Source or an active translated language and save.
Text size or capacity
Adjust Typography → Text size, then Layout → Caption lines and safe margins. Check the actual projected image.